Somatic Yoga is a holistic practice combining gentle movements, breathwork, and mindfulness to enhance body awareness. It offers pain relief, improves flexibility, and promotes emotional well-being. PDF guides provide accessible sequences for all levels.
1.1 What is Somatic Yoga?
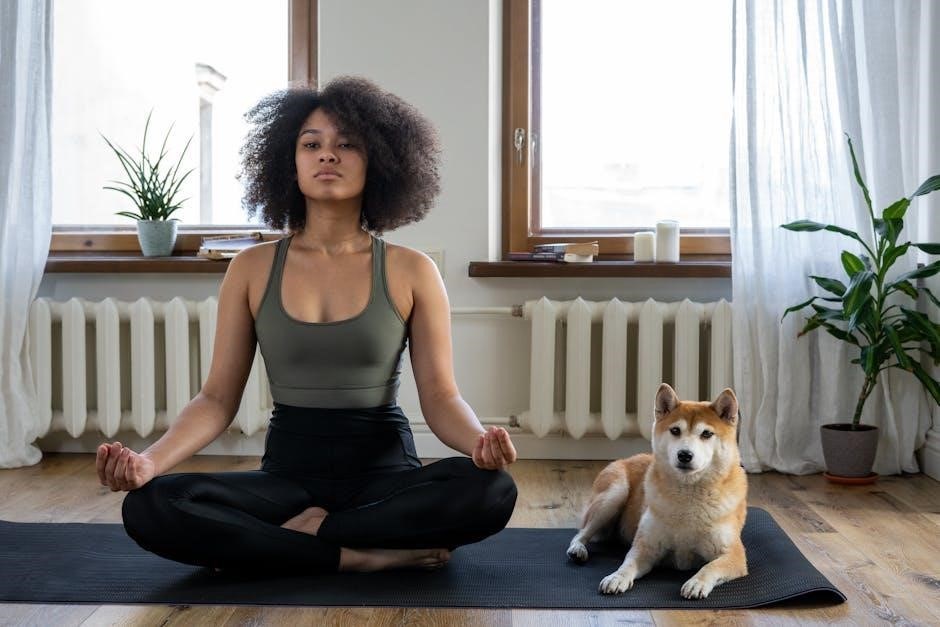
Somatic Yoga is a gentle, therapeutic practice that focuses on re-establishing the mind-body connection. It combines traditional yoga poses with somatic movement principles to release tension, improve flexibility, and enhance body awareness. By targeting the somatic nervous system, it addresses issues like chronic pain and stiffness. Somatic Yoga emphasizes slow, mindful movements and breathing techniques to promote relaxation and restore muscle function. It is particularly beneficial for those seeking to alleviate chronic pain, correct posture, and improve overall well-being. This practice is accessible to all, including seniors, beginners, and advanced practitioners.
1.2 The Importance of Somatic Yoga Sequences in PDF Format
Somatic Yoga sequences in PDF format provide accessible, detailed guides for practitioners. These resources offer structured routines with step-by-step instructions, making it easy to follow at home. PDFs cater to diverse needs, from relaxation to pain relief, and are ideal for both beginners and advanced yogis. They often include visual cues, breathing techniques, and therapeutic exercises tailored to address chronic pain, stiffness, and emotional well-being. Downloadable PDF guides ensure portability and convenience, allowing users to practice mindfully anywhere. They are invaluable for maintaining consistency and deepening the benefits of Somatic Yoga.
Core Concepts of Somatic Yoga
Somatic Yoga focuses on the Somatic Nervous System, which controls voluntary movements. It addresses Sensory Motor Amnesia (SMA), helping restore brain-body connections to release tension and improve mobility.
2.1 The Somatic Nervous System and Its Role in Movement
The somatic nervous system governs voluntary movements, linking the brain to muscles and sensory receptors. It enables conscious control over actions like walking or stretching. In somatic yoga, this system is harnessed to enhance awareness and precision in movements, allowing practitioners to address tension and improve coordination. By focusing on slow, intentional motions, somatic yoga helps rewire neural pathways, restoring fluidity and ease in the body. This mindful approach fosters a deeper connection between the mind and body, essential for effective movement and overall well-being.
2.2 Understanding Sensory Motor Amnesia (SMA)
Sensory Motor Amnesia (SMA) occurs when the brain loses control over specific muscles, leading to chronic tension and stiffness. This condition develops from injuries, stress, or repetitive movements, causing the nervous system to “forget” how to relax muscles. Somatic yoga addresses SMA by using gentle, mindful movements to re-establish communication between the brain and body. Through slow, intentional exercises, practitioners can release stored tension and restore natural movement patterns. This practice is particularly effective for alleviating chronic pain and improving flexibility, as it targets the root cause of muscle dysfunction rather than just the symptoms.
Benefits of Somatic Yoga
Somatic Yoga offers numerous benefits, including physical benefits like pain relief and improved flexibility, as well as mental and emotional benefits such as reduced stress and increased body awareness.
3.1 Physical Benefits: Pain Relief, Flexibility, and Postural Correction
Somatic Yoga offers profound physical benefits, including pain relief, enhanced flexibility, and improved posture. By releasing tension in muscles and joints, it addresses chronic pain and stiffness. Gentle movements and mindful practices help restore natural alignment, correcting poor posture. The focus on slow, deliberate actions increases joint mobility and lubrication, reducing stiffness. Additionally, Somatic Yoga enhances fascia health and range of motion, making it ideal for conditions like back pain, scoliosis, and fibromyalgia. Regular practice promotes a stronger, more balanced physical structure, fostering long-term well-being and ease of movement.
3.2 Mental and Emotional Benefits: Reduced Stress and Increased Body Awareness
Somatic Yoga cultivates mental calm and emotional balance by reducing stress and fostering deep body awareness. Through mindful movements and breathwork, it helps release emotional tension and promotes relaxation. By reconnecting with the body, practitioners gain insight into their emotional states, enhancing self-awareness and resilience. This practice also encourages a meditative state, calming the mind and reducing anxiety. Improved body awareness empowers individuals to recognize and manage stress, leading to emotional well-being and a deeper connection to their inner selves.

Designing a Somatic Yoga Sequence
Somatic Yoga sequences are crafted with gentle movements, breathwork, and mindfulness to address specific needs. They focus on releasing tension and enhancing mobility, tailored for all levels and goals.
4.1 Principles for Creating Effective Sequences
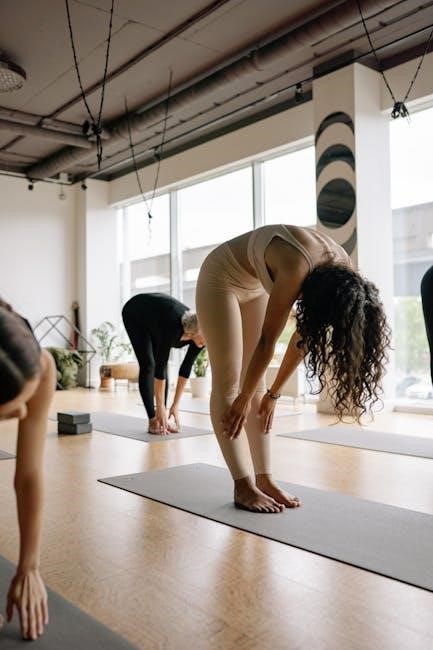
Effective somatic yoga sequences emphasize gentle, slow movements to release tension and enhance mobility. They prioritize mindfulness, encouraging awareness of each muscle and joint. Repetitions are key to rewire neurological pathways, improving body awareness. Sequences should target specific areas, such as the hips or spine, to address chronic pain or stiffness. Props like blankets or mats are often used for comfort. The goal is to create a safe, adaptive practice that honors individual needs, fostering relaxation and ease. Clear cues guide students to focus on sensations, ensuring a transformative experience.
4.2 Tailoring Sequences for Different Needs and Experience Levels
Effective somatic yoga sequences are tailored to address individual needs, such as chronic pain, stiffness, or emotional stress. For seniors or beginners, gentle, floor-based movements are ideal, focusing on relaxation and basic mobility. Advanced practitioners can explore deeper twists and flows to enhance flexibility. Sequences for chronic pain prioritize slow, repetitive movements to release tension and improve joint lubrication. Online platforms offer customizable tools to design sequences based on specific goals, ensuring a personalized practice. Mindfulness and pacing are key to making the practice accessible and transformative for all levels.
Foundational Somatic Yoga Exercises
Foundational somatic yoga exercises focus on gentle, slow movements to release tension and improve flexibility. These include basic stretches, joint mobilizations, and mindful breathing techniques to enhance body awareness and relaxation.
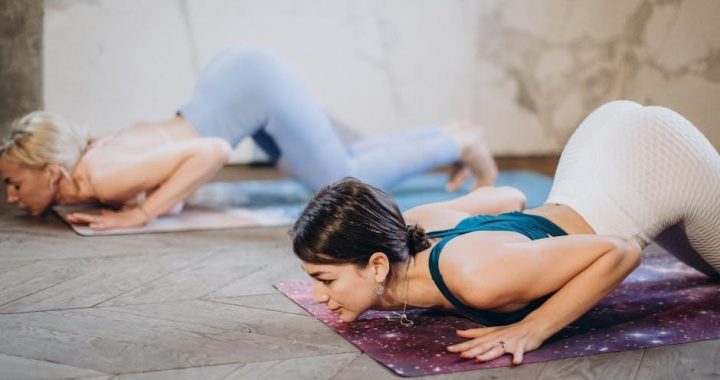
5.1 Gentle Movements for Tension Release
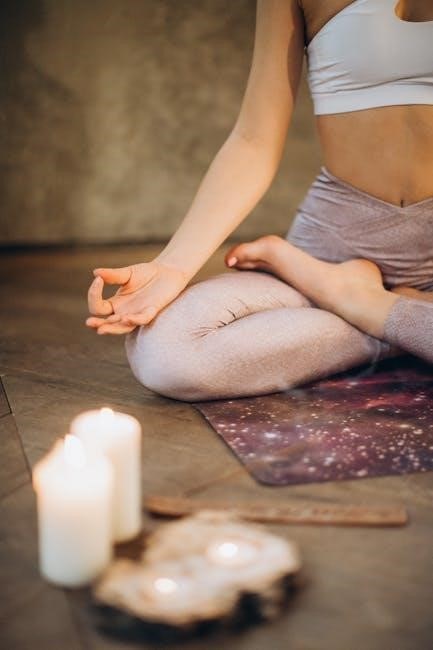
Gentle somatic movements are designed to release physical tension and promote relaxation. These slow, mindful exercises target areas like the neck, shoulders, hips, and lower back, common sites of stress. By focusing on subtle actions, such as slow stretches or joint mobilizations, practitioners can unlock tight muscles and improve flexibility. These movements are often performed in sitting or lying positions, making them accessible to all, including seniors and beginners. Props like blankets may be used for comfort. The goal is to enhance body awareness while gently easing tension, leading to a deeper state of calm and well-being.
5.2 Breathing Techniques to Enhance Body Awareness
Breathing techniques in Somatic Yoga are essential for deepening body awareness and fostering relaxation. Practices like diaphragmatic breathing and box breathing help calm the nervous system, allowing for greater mind-body connection. These techniques, often integrated into sequences, encourage students to focus on sensations in the body as they inhale and exhale. By synchronizing breath with movement, practitioners can release tension, improve posture, and enhance overall well-being. These exercises are particularly effective for reducing stress and creating a meditative state, making them a cornerstone of Somatic Yoga practice.
Advanced Somatic Yoga Sequences
Advanced sequences incorporate complex movements, deep twists, and flowing transitions to release tension and enhance mobility. These practices build on foundational techniques, offering profound relaxation and body awareness.
6.1 Somatic Twists for Deep Relaxation
Somatic twists are slow, deliberate movements designed to release tension in the spine, torso, and joints. These sequences, often detailed in PDF guides, promote deep relaxation by enhancing circulation and flexibility. By focusing on mindful breath and subtle sensations, practitioners can unlock tight areas, particularly in the neck, shoulders, and hips. Regular practice improves mobility and reduces stiffness, while the calming effects support emotional balance. These advanced twists are ideal for those seeking to deepen their practice and experience profound relaxation, making them a cornerstone of somatic yoga routines.
6.2 Somatic Flows for Improved Mobility
Somatic flows are smooth, mindful movements designed to enhance mobility and flexibility. These sequences, often shared in PDF guides, focus on gentle, flowing transitions that lubricate joints and release tension in the muscles. By fostering a connection between breath and movement, somatic flows improve circulation and range of motion. They are accessible to all levels, with modifications for individual needs. Regular practice supports long-term joint health and overall physical freedom, making somatic flows a valuable addition to any yoga or movement routine aimed at improving mobility and well-being.
Somatic Yoga for Specific Needs
Somatic yoga addresses chronic pain, stiffness, and mobility challenges through tailored sequences. It benefits seniors, beginners, and those with specific conditions, offering gentle, adaptive movements for healing and ease.
7.1 Sequences for Chronic Pain and Stiffness
Somatic yoga sequences are specifically designed to address chronic pain and stiffness by releasing tension in the muscles and improving mobility. These gentle, slow movements target areas of discomfort, promoting relaxation and reducing inflammation; By focusing on mindful contractions and releases, somatic yoga helps re-establish communication between the brain and muscles, reversing patterns of tension. Regular practice can alleviate conditions like fibromyalgia, arthritis, and lower back pain. The sequences are adaptable to individual needs, making them accessible for those with limited mobility or persistent discomfort. Downloadable PDF guides offer structured routines for home practice.
7.2 Somatic Yoga for Seniors and Beginners
Somatic yoga is an ideal practice for seniors and beginners, offering gentle, slow movements that enhance flexibility and body awareness. These sequences are designed to be accessible, focusing on mindful contractions and releases to improve mobility without strain. Props like blankets or mats are often used for comfort and support. The practice emphasizes relaxation and breath integration, making it perfect for those with limited mobility or who are new to yoga. Downloadable PDF guides provide structured routines, allowing seniors and beginners to practice safely at home, promoting ease, balance, and overall well-being.
Resources for Somatic Yoga Practitioners
Discover FREE somatic yoga sequence PDFs and online platforms offering customizable routines. These resources provide detailed guides, mindful flows, and therapeutic exercises tailored for all experience levels and needs.
8.1 Free Somatic Yoga Sequence PDFs
Access FREE Somatic Yoga Sequence PDFs designed for all levels, offering gentle movements and mindful breathing techniques. These guides provide step-by-step instructions for relaxation, flexibility, and stress relief. Perfect for home practice, they include sequences tailored to address chronic pain, improve mobility, and enhance body awareness. Whether you’re a beginner or an advanced practitioner, these resources are easy to download and implement. Explore various PDFs that cater to specific needs, ensuring a holistic practice that nurtures both body and mind. Start your journey with these accessible tools and experience the transformative power of somatic yoga.
8.2 Online Platforms for Building Custom Sequences
Utilize online platforms like Tummee.com to create custom somatic yoga sequences. This platform offers a library of 7000+ poses, 1.25M cues, and tools to design personalized routines. Filter poses by style, muscles, or level to tailor sequences for specific needs. Ideal for teachers and therapists, it allows seamless planning and sharing of classes. With a 5-star rating, it’s a trusted resource for building effective practices. Explore other platforms offering similar tools to craft and download custom somatic yoga PDFs, ensuring accessible and adaptable routines for all practitioners.
Somatic Yoga offers transformative benefits, enhancing physical and mental well-being. Its gentle, mindful approach fosters pain relief, flexibility, and deep relaxation. Start your journey today for lasting mind-body harmony.
9.1 The Transformative Power of Somatic Yoga
Somatic Yoga is a pathway to profound transformation, offering relief from chronic pain and stiffness while enhancing mobility and emotional well-being. By integrating gentle movements, mindful breathwork, and deep relaxation, it rewires the brain-muscle connection, fostering a renewed sense of body awareness. This practice is particularly effective for addressing postural imbalances and stress. With customizable sequences available in PDF formats, Somatic Yoga is accessible to everyone, from beginners to advanced practitioners, making it an invaluable tool for holistic well-being. Embrace this journey to unlock your full potential and experience lasting harmony in mind, body, and spirit.
9.2 Encouragement to Start Your Somatic Yoga Journey
Embark on your Somatic Yoga journey with an open heart and mind. This practice offers a gentle, transformative path to healing and self-discovery. Whether you’re seeking pain relief, improved mobility, or emotional balance, Somatic Yoga provides a holistic approach to well-being. With accessible PDF guides and customizable sequences, you can begin at your own pace. Embrace the power of mindful movement and breathwork to reconnect with your body. Start small, stay consistent, and experience the profound benefits of Somatic Yoga for yourself. Your journey to greater awareness and harmony awaits—take the first step today!